Healthy Banana Bread

It doesn’t happen often that there are left over bananas in our household but when there are this is my go to recipe! Its one of my favourite on the go breakfasts and I always forget out yummy it is!

image

Ingredients:
140g wholemeal flour
100g self rising flour
1tsp bicarbonate of soda
1tsp baking powder
350g bananas
4tbsp of agave syrup/honey/maple syrup
3 large eggs
150ml low fat natural yogurt
1tsp nutmeg
1tsp cinnamon
Pinch of nutmeg

What to do:
Preheat the oven at 140

Mix all the wet ingredients
image

Mix all the dry ingredients
image

Mix together adding a little bit at a time. I didn’t need to use a blender, I just squished the banana with a fork. If you wanted a less chunky batter you can use a blender.
image

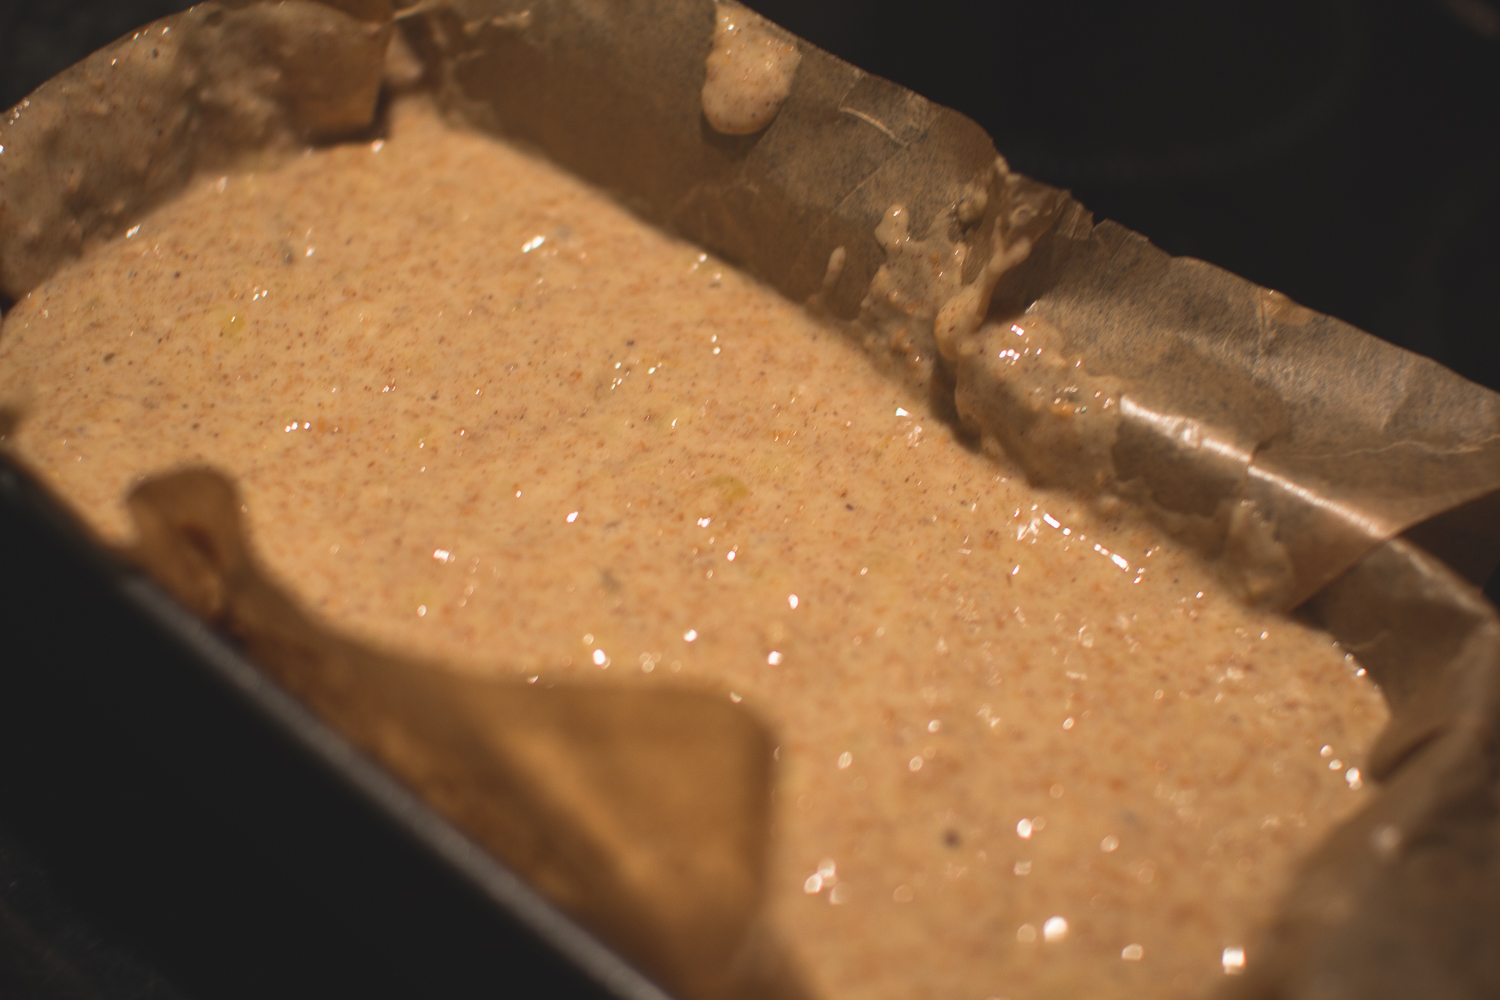
Put in to a loaf tin lined with baking paper. This makes is super easy to take out!
image

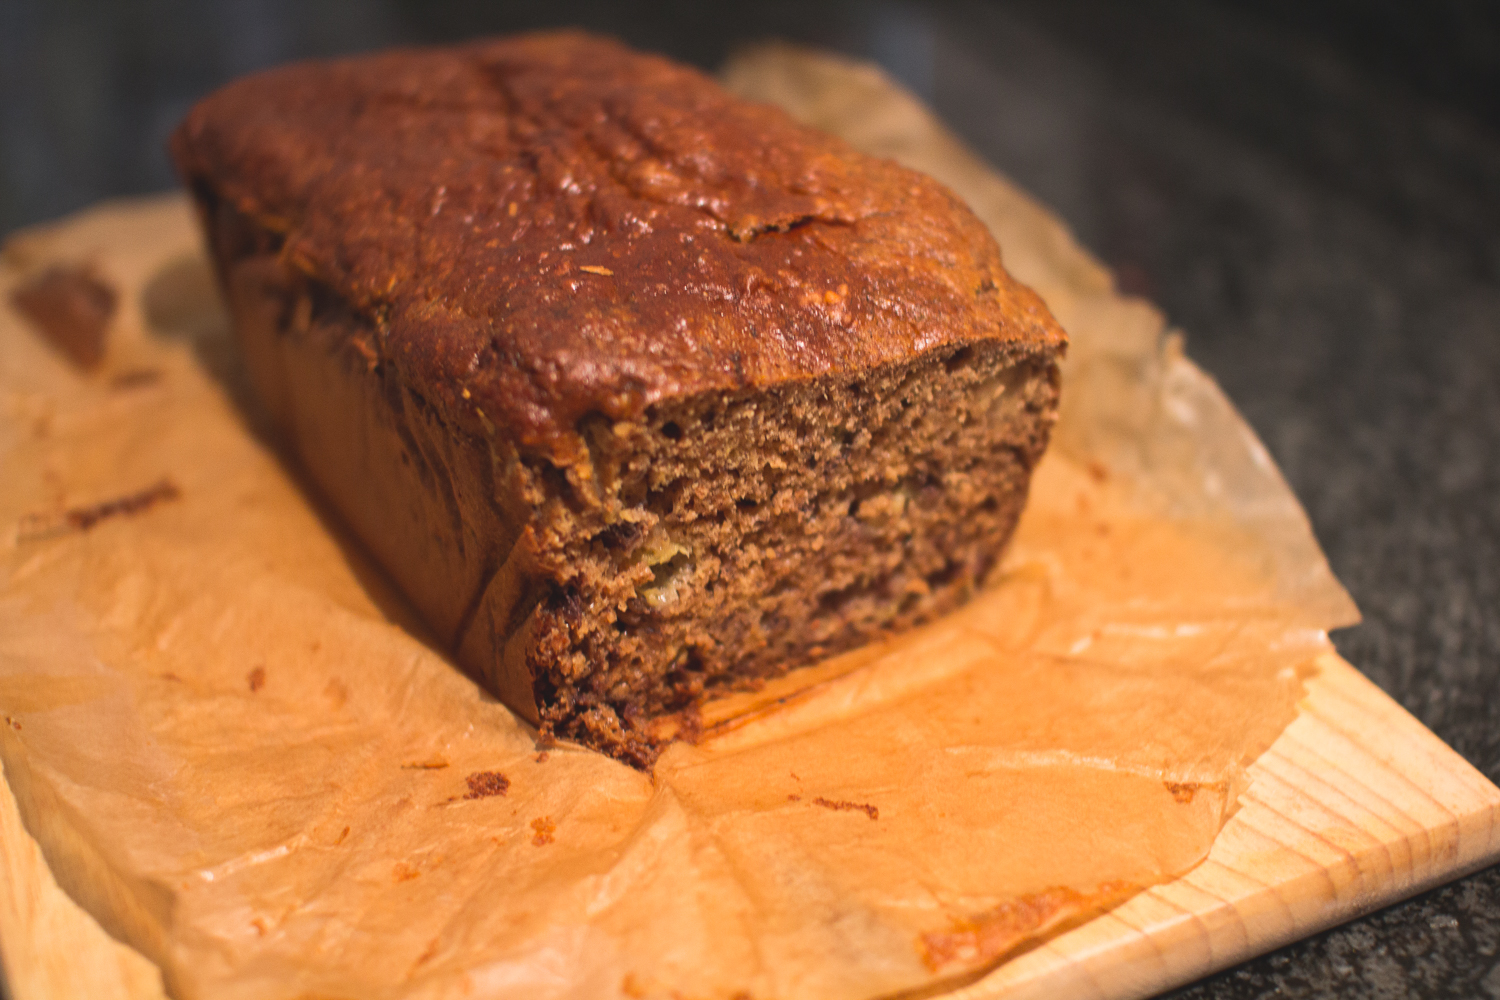
Bake in the loaf for 1 hour and 15 minutes until warm golden brown in colour.
image

Allow to cool and then serve!
image

Chocolate Almond Biscuits

image

These cute little cookies are super quick and easy! They are addictive, crumbly and soft, plus they are adaptable to make them whichever flavour you like!

And do you know what is even better… They are HEALTHY!!! They are vegan, vegetarian, gluten free and paleo!

image

Ingredients:
– 120g ground almonds
– 2tbs Unsweetened cocoa powder (optional)
– 2tbs coconut oil
– 2tbs maple syrup or any other liquid sweetener
– 1/4 tsp baking powder
– 1tsp vanilla extract
– 25g cocoa nibs, cacao, or good quality dark chocolate

This recipe makes around 10 biscuits and only takes 20 minutes from start to finish.

image

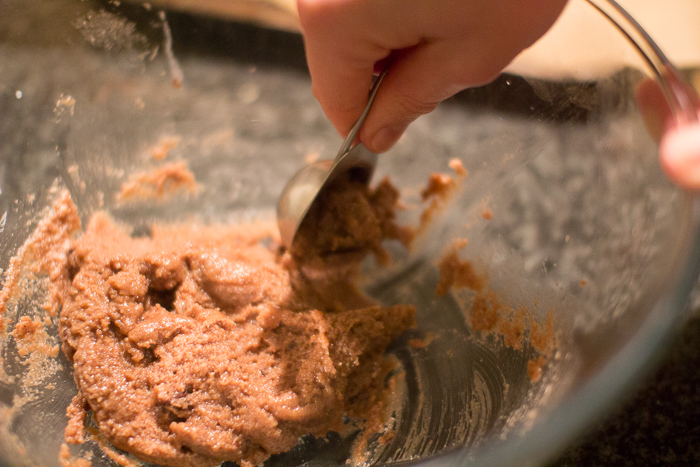
Add all the ingredients into the bowl and mix well.

image

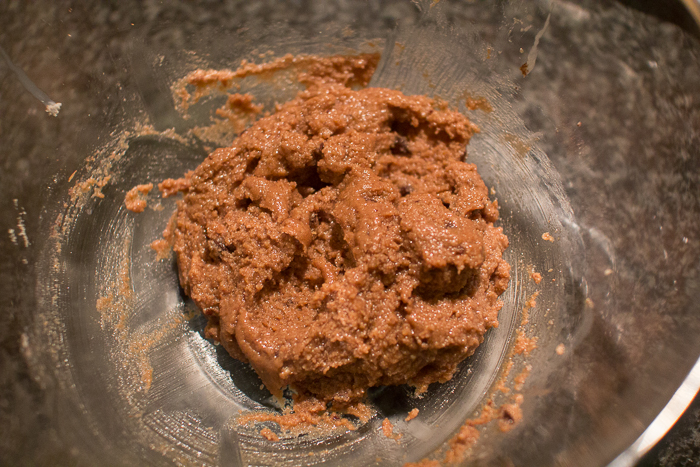
The dough should look like this… (I could eat the whole bowl!)

image

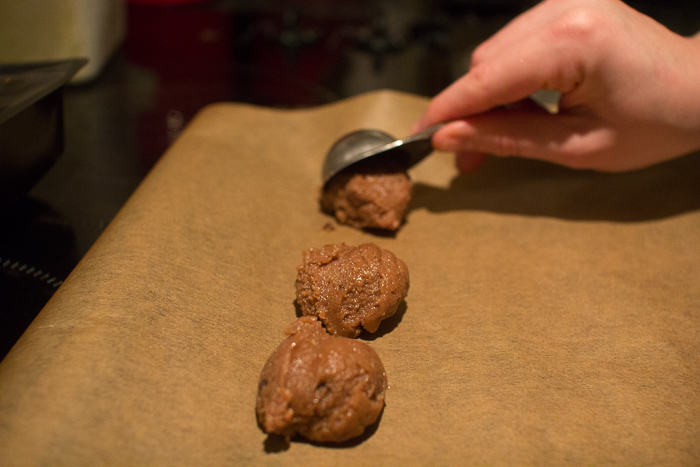
I use a tablespoon to portion the mixture out on a lined baking tray.

image

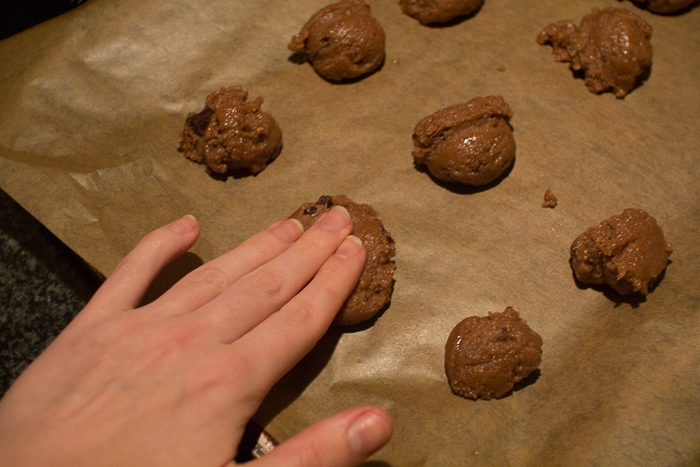
Using your fingers or a fork slightly flatten each biscuit.

image

image

Then pop them in the oven for 15 minutes at 170°/340°

image

And they are done!

image

image

Spinach & Ricotta Ravioli

Today we made spinach and ricotta ravioli, all from scratch of course!

image

To start here is my recipe for homemade wholewheat pasta and I promise its super easy and super quick!

Filling:
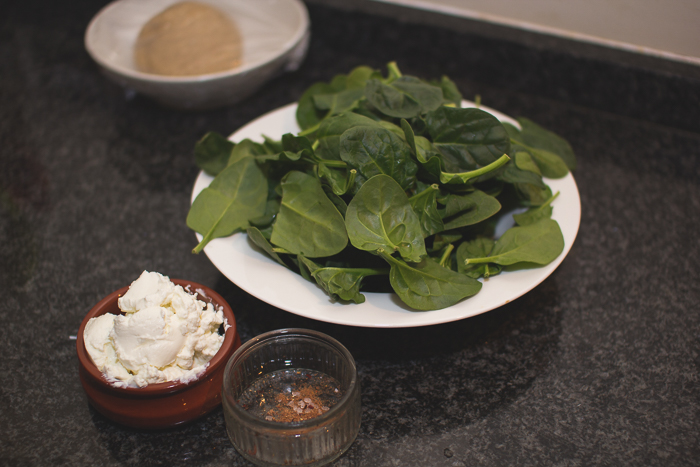
200g quark or ricotta or any other cream cheese of choice
250g baby leaf spinach
1tbs nutmeg
Pinch of salt & pepper
image

Sauce:
400g of chopped tomatoes (I use a tin of plum because they’re full of flavour!)
1tbs of tomato purée
1 clove of garlic
1 vegetable stock cube crumbled
1 tbs sugar of choice or sweetener
2tbs of chopped basil (I buy the frozen stuff as it so cheap and easy… No waste!)

image

What you need to do:
Once you have made the pasta dough and it is resting done then its time to make the filling! (Click on link above)

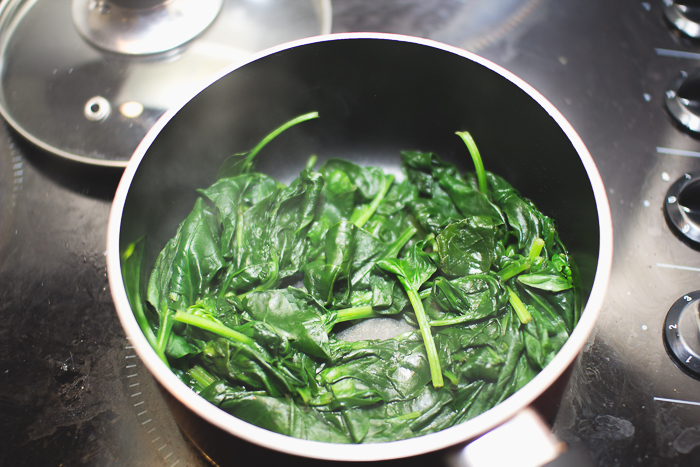
Cook the spinach in a pan with just a pump of oil. It will look like a huge amount of spinach but believe me it does wilt down… A lot! Cover pan with a lid until wilted.

image

image

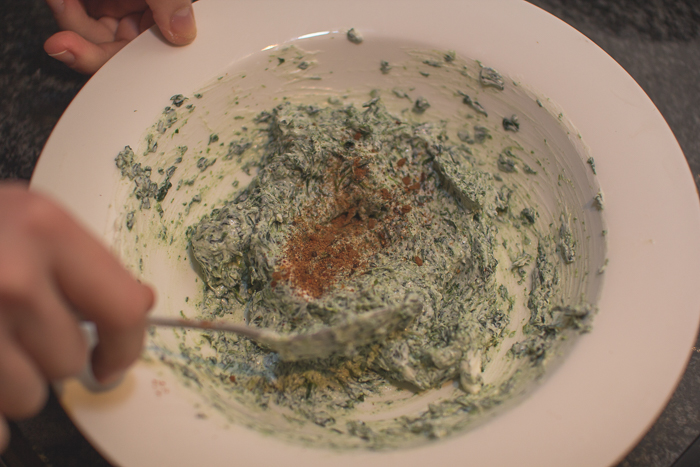
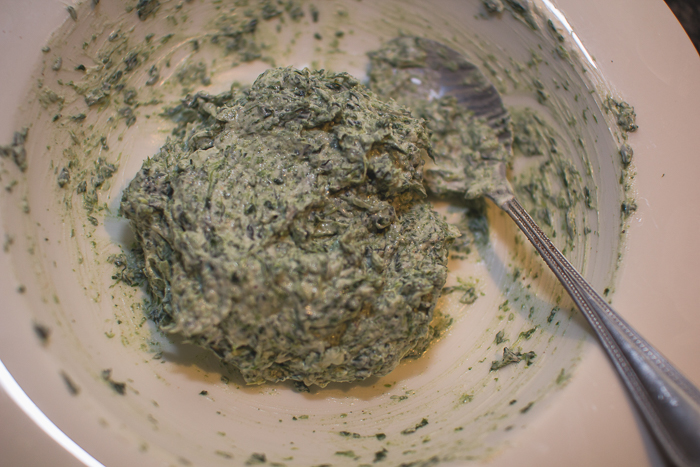
In a bowl put the quark cheese and spinach together and slowly begin to mix. I found the best way to get it to blend was to squash the mixture together with the back of a spoon.

image

image

image

When mixed together it’s time to season. I added salt, pepper and nutmeg. It adds just another dimension of flavour, I also think lemon would work well!
image

image

So now it’s time to roll out the pasta!

I cut the pasta into two smaller chunks to make it easier to pass through the pasta machine. Start off on the largest setting to roll the dough to a flat sheet.

image

image

image

image

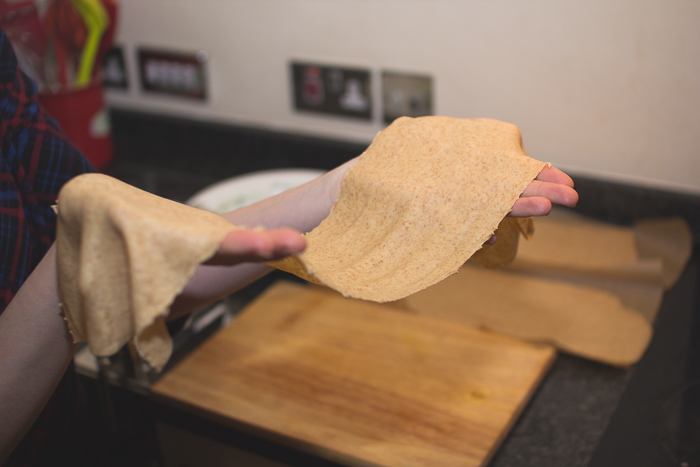
Gradually change the machine so the dough becomes thinner. We found that it was the perfect thickness when you were able to see your hand through the dough like this…

image

(This was on number 6 on our pasta machine)

We found that it was better to cut the sheets into two shorter pieces after rolling to be able to make it more manageable… However if you wanted to make spaghetti and linguini you probably don’t want to do that.

Turning this into a dish:
We tried several way to fill our ravioli and we found this to be the easiest and quickest method.

Lay one sheet out and fold it in half. Mark the halfway point in the dough with a knife. Fold the dough out flat again. This is where you need to decide how big you want your ravioli.

image

image

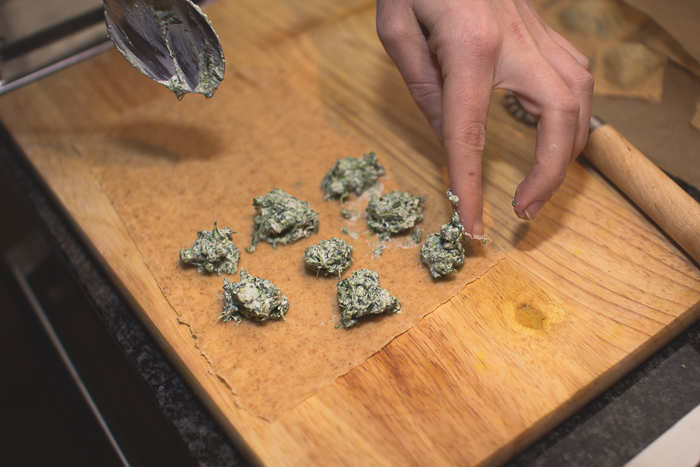
My filling was around the size of a 50p coin. We spaced ours out so there was around 3cm around the filling… This allowed enough space to seal the pasta. We only had to use a teaspoon to place the filling on the pasta sheet.

image

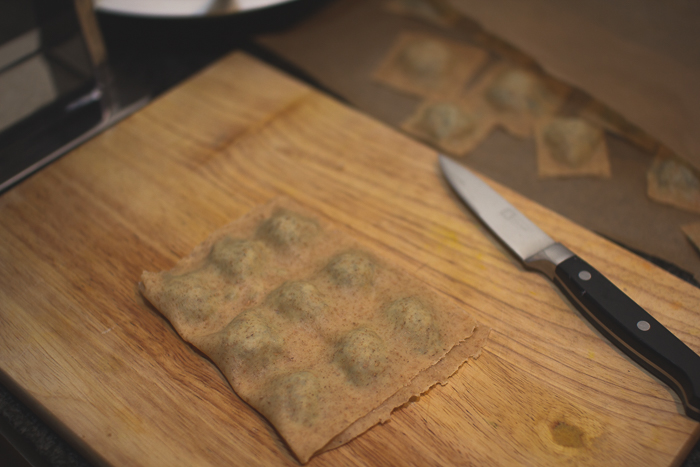
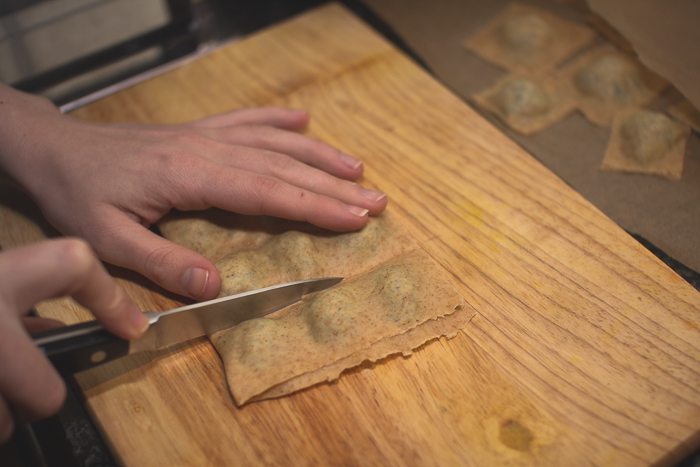
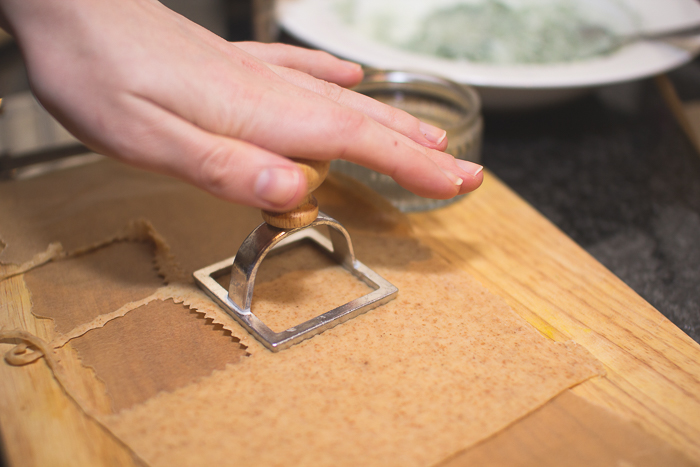
Once finished laying out the filling fold over the pasta so the filling is in the middle. Now you need to press the dough around the filling lightly. Now cut around the filling into your desired shape.

image

Once cut press around the edges of your dough firmly to fully seal the ravioli.

For the sauce:
Add the garlic to a pan with two pumps of oil.
image

Once starting to brown add the tomato purée.
image

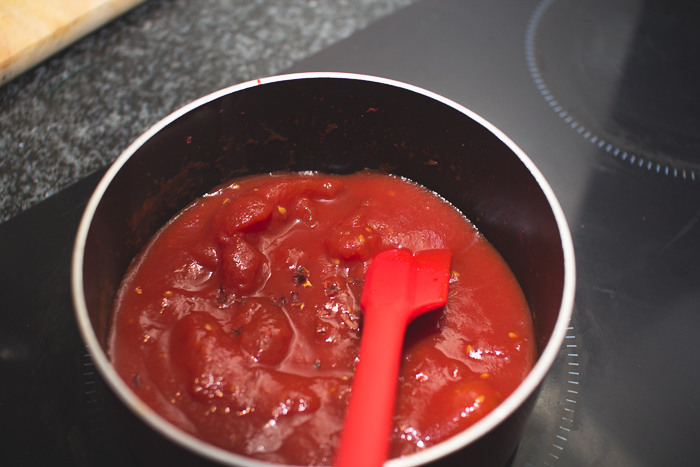
After around 3 minutes add the tin of tomatoes and heat through.
image

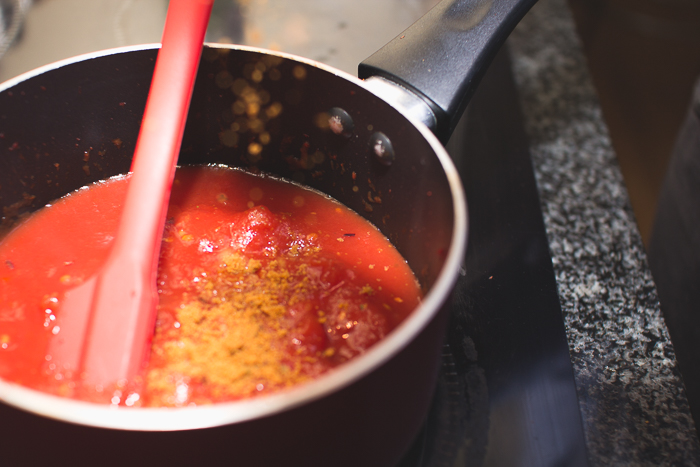
Add the crumbled vegetable stock cube and throughly mix in.
image

Stir regularly for 5 minutes.

Stir through the sugar/sweetener and taste. Season at this point if it needs it.
image

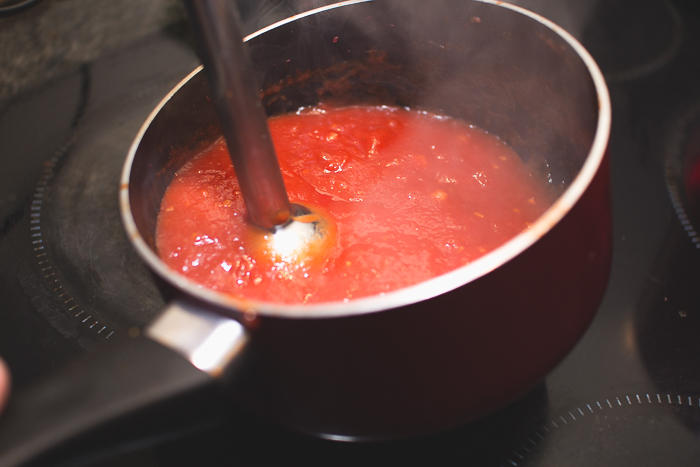
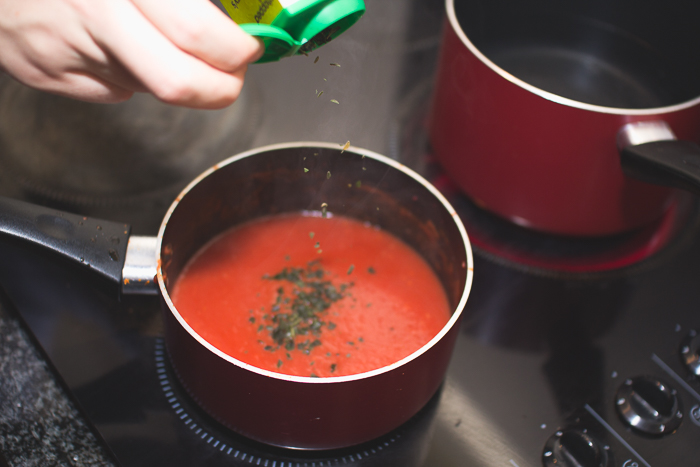
Depending on how you like your sauce, use a hand blender to mix it all together. Stir through the basil at the end.
image

image

To cook:
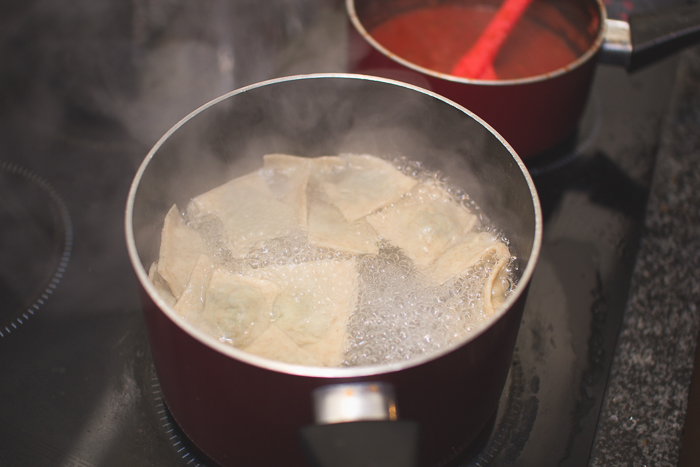
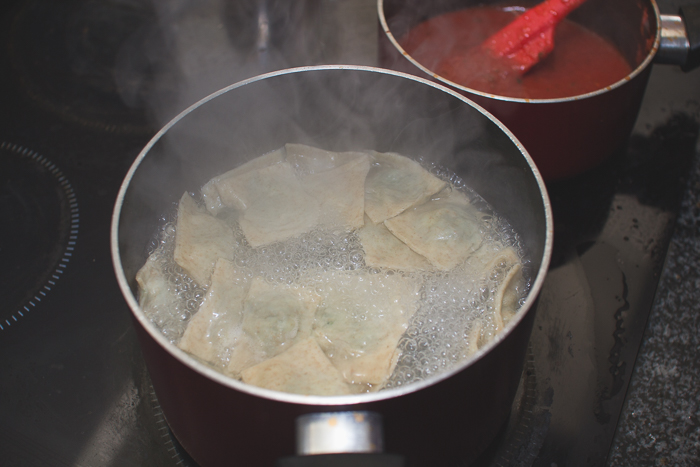
Add to a pan of boiling water and cook for around 5 minutes. Then drain the water away.

image

image

To dish up:
Divide the pasta amongst the bowls and drizzle the sauce over the top. I served mine with some low fat mozzarella cheese and a couple of grinds of pepper.

image

image

I hope you enjoy this dish and it truly is satisfying to enjoy such a wholesome dish made from scratch.

HungryHealthyHappy’s no bake brownies

image

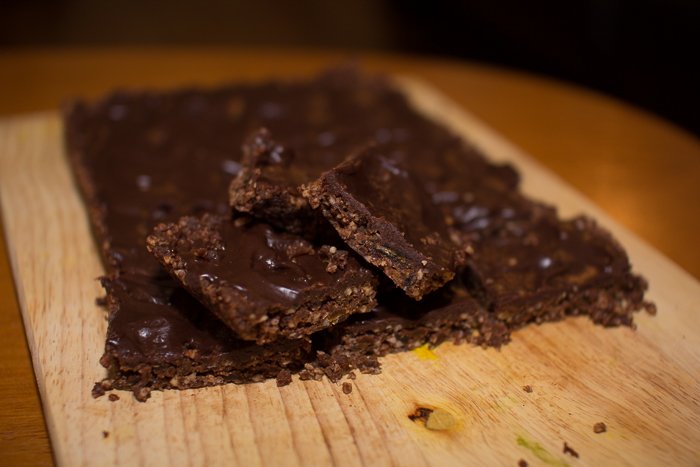
I’ve been making these for a while now and I just had to share them because they are so yummy! They’re moist, moreish, so easy to make and don’t feel like a healthy option at all. I make a batch, stick them in the fridge and snack to my hearts content!

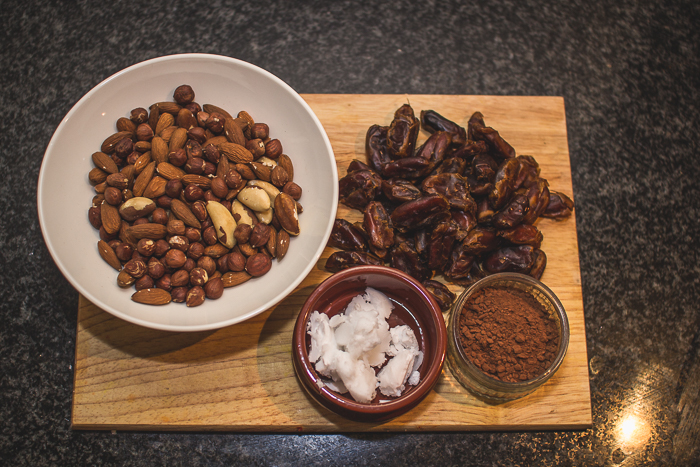
Want to know how to turn these unassuming ingredients into delicious fudgey brownies & really quickly… visit HungryHealthyHappy for the recipe!!!
image

image

The dates are what make it for me (other than the chocolate!) as they are so caramel like and sticky, super yum! Dates are reasonably new to me as I was always put off by there appearance whereas now they are a firm favourite and a must in my cupboards!

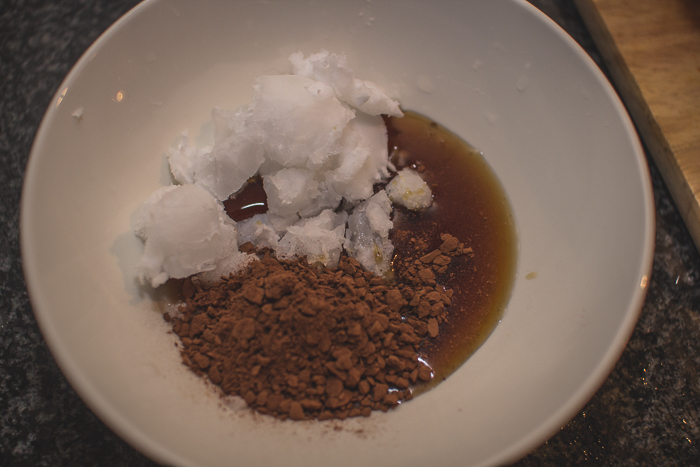
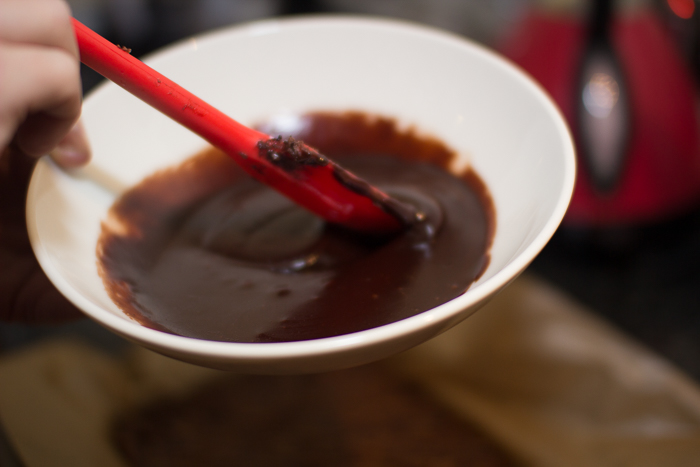
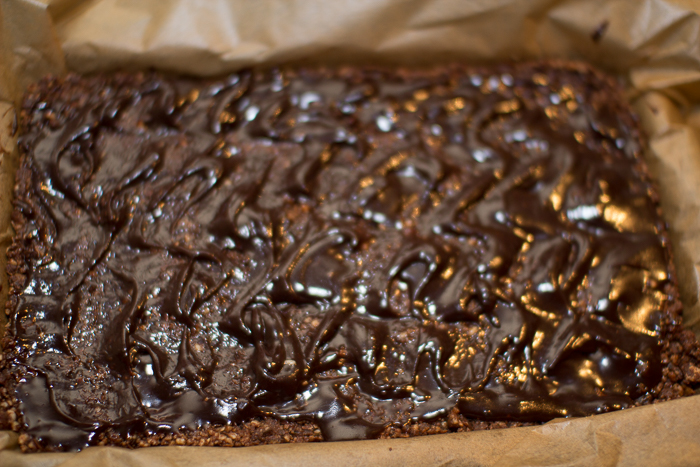
And omgoodness the sauce used for the topping… it tastes amazing. It tastes like its really naughty but actually it’s full of goodness. Its really quick and easy to make and I’m already planning of other uses for it.

image

image

image

These little delicious squares have saved me from temptation more times than I’d like to admit. I also like to roll the mixture onto bite sizes balls and use the sauce as a dip. You really can’t go wrong with them! Huge success with my boyfriend too!

Thank you HungryHealthyHappy!

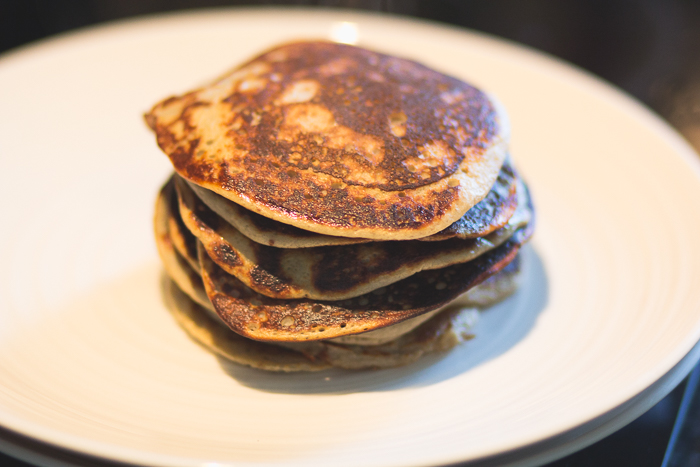
Banana Pancakes

Here is one of my favourite breakfast dishes which I have Cassey Ho’s cheap clean eats to thank for!

image

Ingredients:
2 eggs
1 banana
(Yes, that’s right only TWO ingredients!!)

image

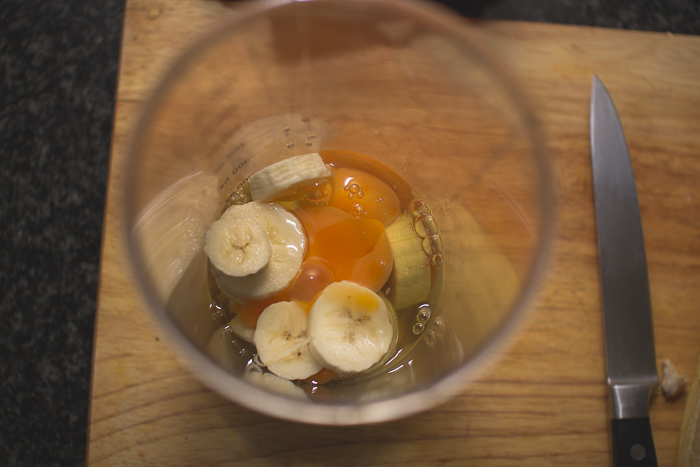
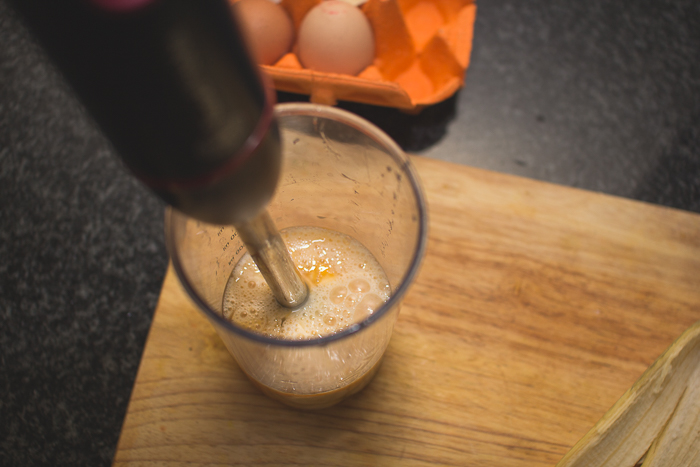
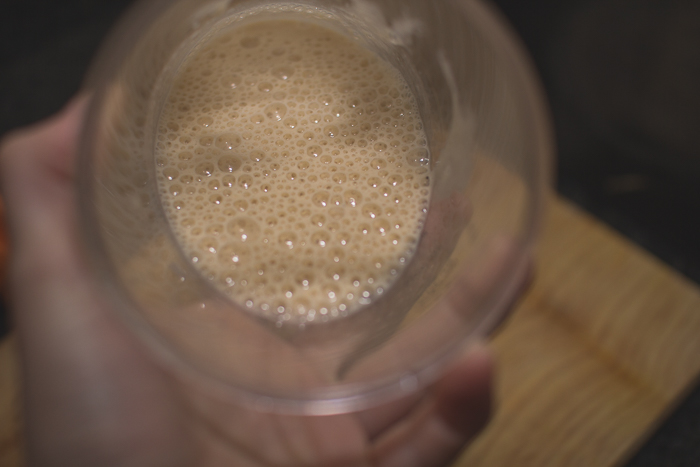
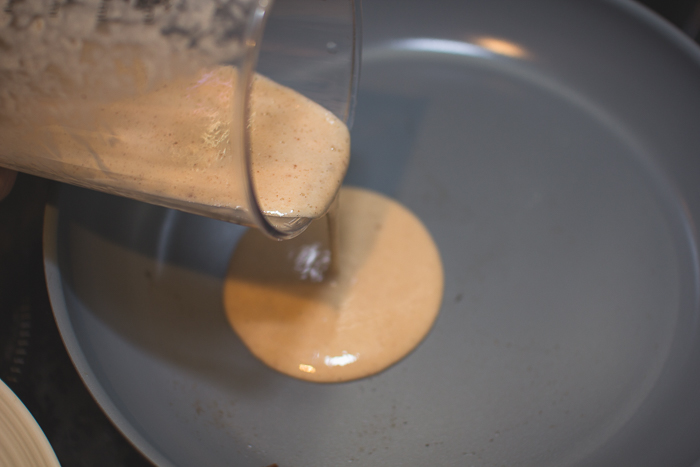
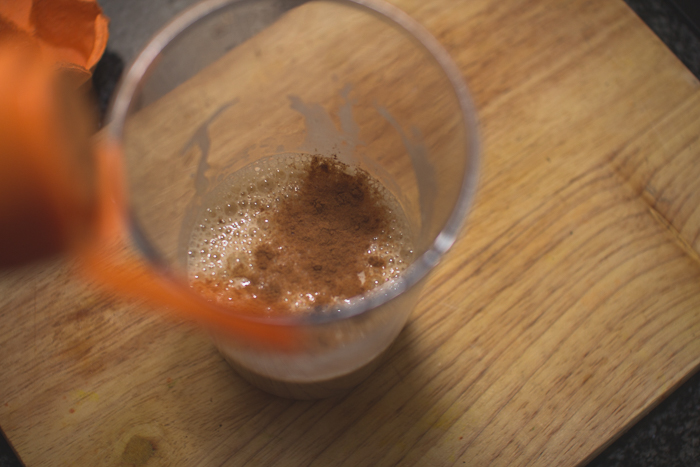
Cut up the banana and put in a bowl. Add the two eggs. (Add any additional flavours before blending, such as cinnamon) Using a hand blender, food processor or whisk blend them together until they are frothy!

image

image

image

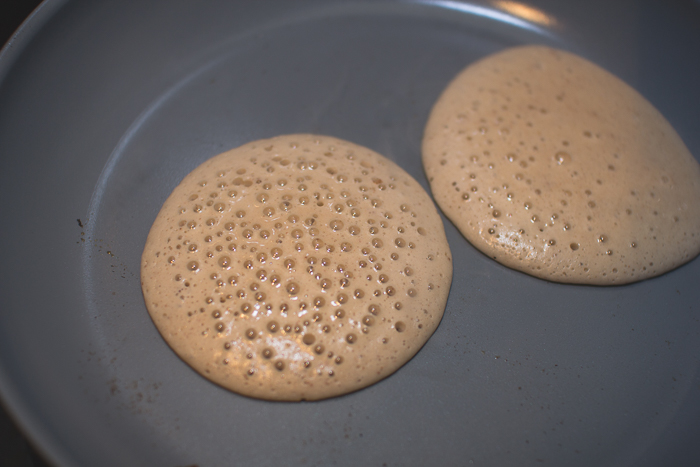
Warm a pan with a couple of pumps of spray of oil on a low heat. Pour the batter into the pan into the size pancakes you like. I find I get about 8 or 9 pancakes from this quantity per person.

image

image

image

When the top begins to bubble it’s time to flip over!

image

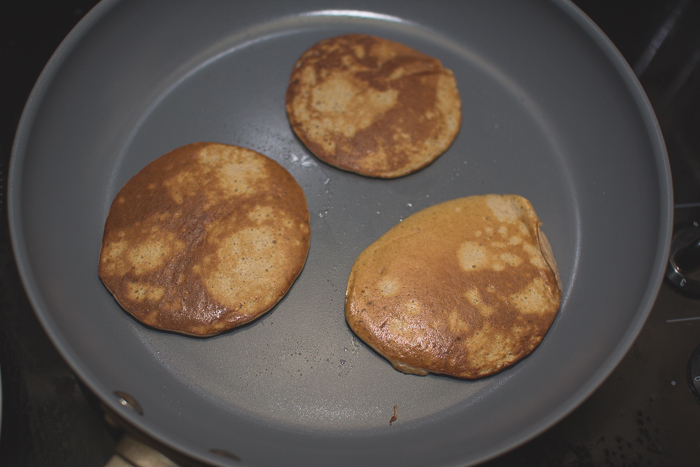
They only take a couple of mins each side, keep watch because they do burn very quickly!

image
image

When the batter has used up, they’re ready to serve! I like to have mine with honey, nut butter, maple syrup or a mixed berry compote. They’re also great with grilled bacon!

Alternatives I like to do:
Add a flavour before blending such a cinnamon, cocoa powder, nutmeg or ground ginger.
Add blueberries, chocolate chips or raspberries after blending and before cooking.

image

Homemade Wholewheat Pasta

I made pasta… From scratch! It’s something I’ve always wanted to do because I love pasta, (who doesn’t!) but didn’t like not knowing what went into shop bought, So… I took the challenge to make my own healthy alternative. It was surprisingly easy!!!
image

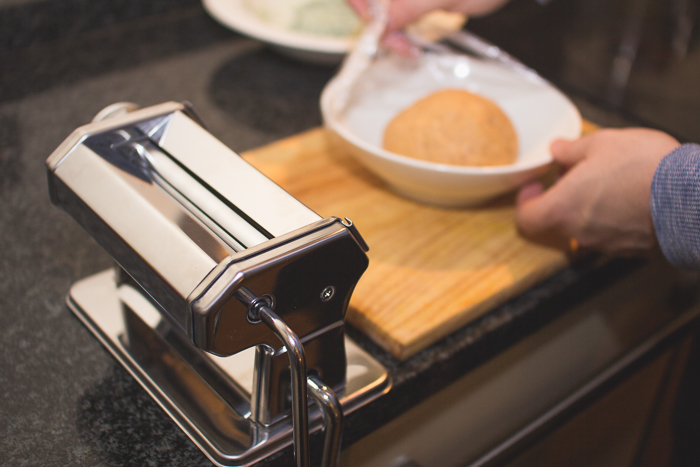
We did use a pasta machine purely because we bought one with with some vouchers I won from John Lewis but with a little patience you could roll it out with a rolling pin. Using the pasta machine did make it incredibly easy so if you can get one cheap I’d recommend it! This is the one I used:
image

Ingredients for the pasta:
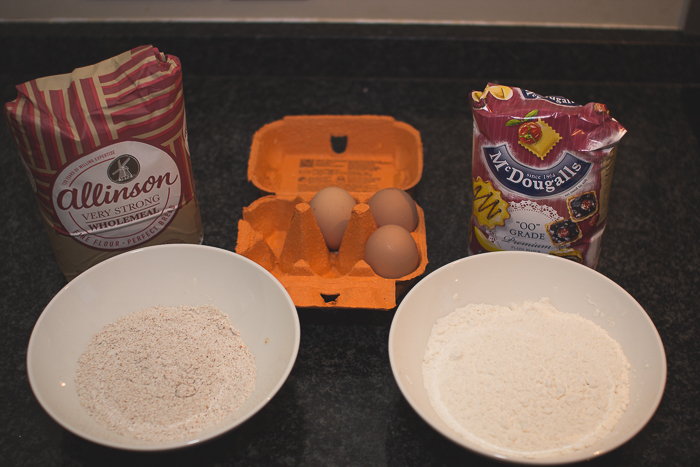
200g 00 flour (we got ours in Asda) 
100g wholewheat flour
3 eggs

image

What you need to do:
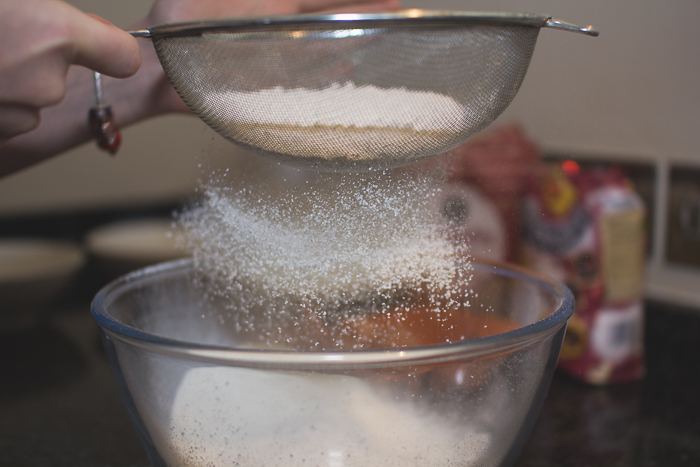
Sieve both types of flour into a big bowl.

image

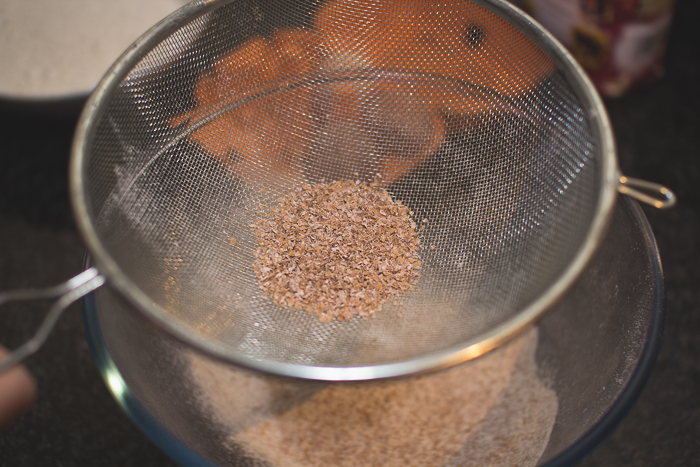
Discard any bits that don’t fit through the sieve… You don’t want those in your dough!

image

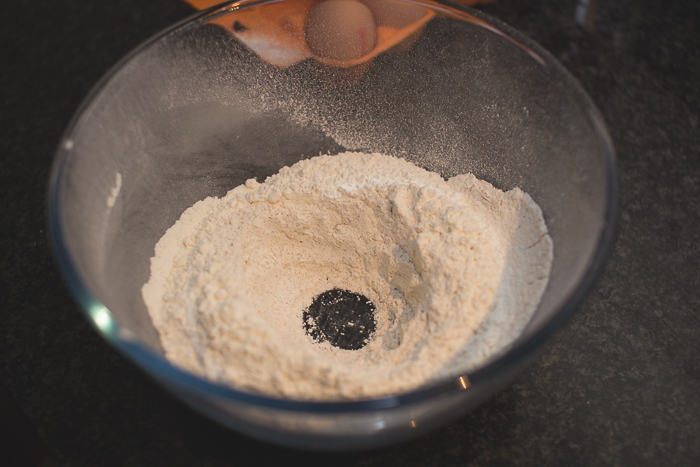
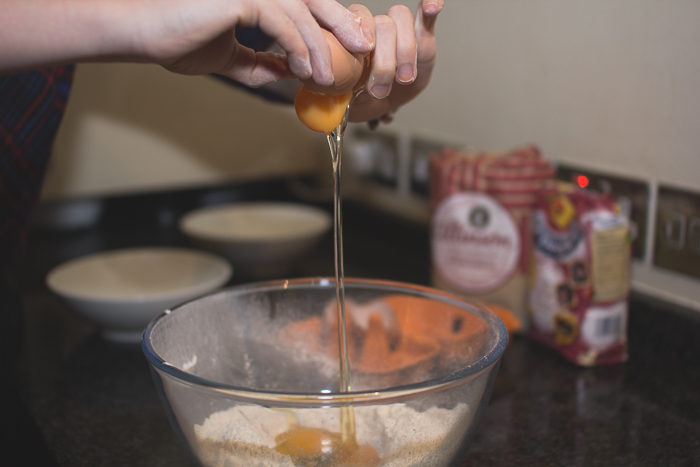
Make a well in the middle of the flour and crack your eggs into the centre.
image

image

Using a fork mix the eggs and slowly bring in the flour from around the outside.
image

image

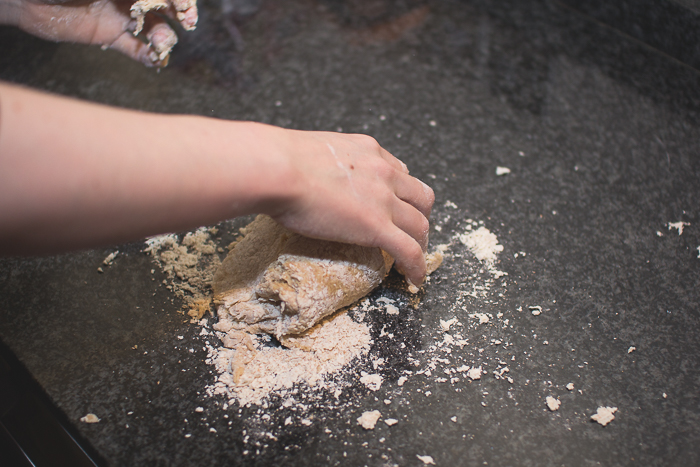
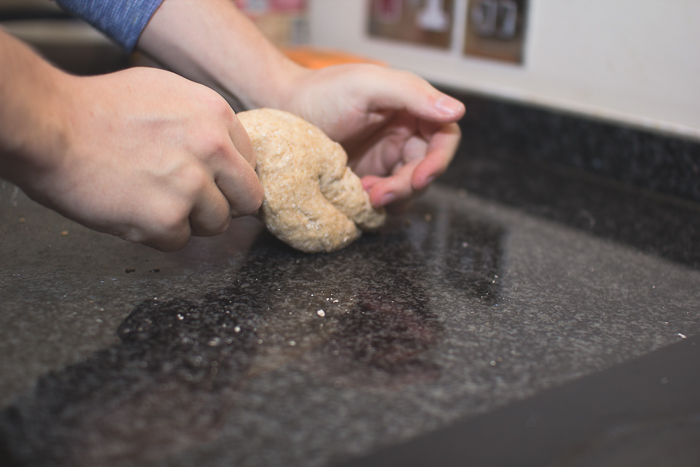
When it gets too thick to mix with a fork, turn the couch mixture out on to the side and kneed with your hands until it all comes together.
image

image

image

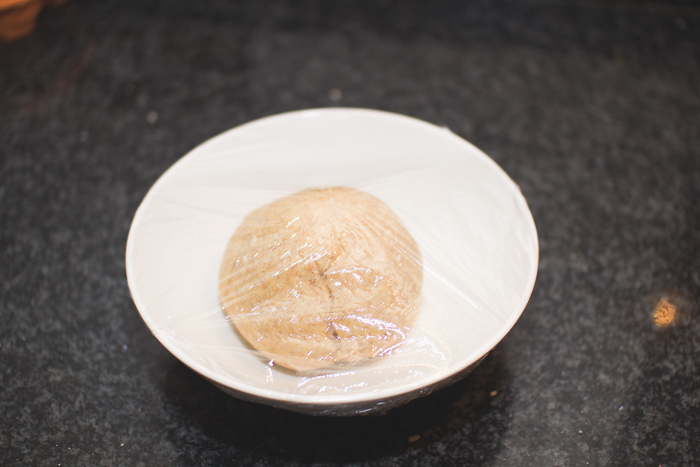
Cover with cling film and pop it in the fridge to cool/rest.
image

So now it’s time to roll out the pasta!
image

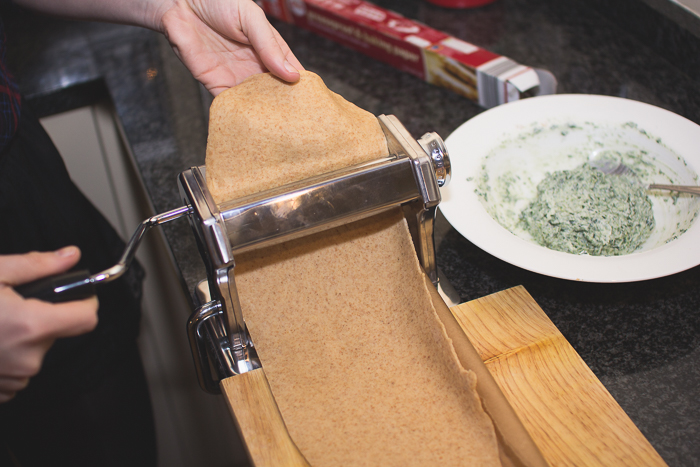
I cut the pasta into two smaller chunks to make it easier to pass through the pasta machine. Start off on the largest setting to roll the dough to a flat sheet. 
image

Gradually change the machine so the dough becomes thinner.

image

We found that it was the perfect thickness when you were able to see your hand through the dough like this…

image

(This was on number 6 on our pasta machine)

We found that it was better to cut the sheets after rolling to be able to make it more manageable because it makes them very long… However if you wanted to make spaghetti and linguini you probably don’t want to do that.
image

Once your is rolled its time to decide what type of pasta you would like!

image

image

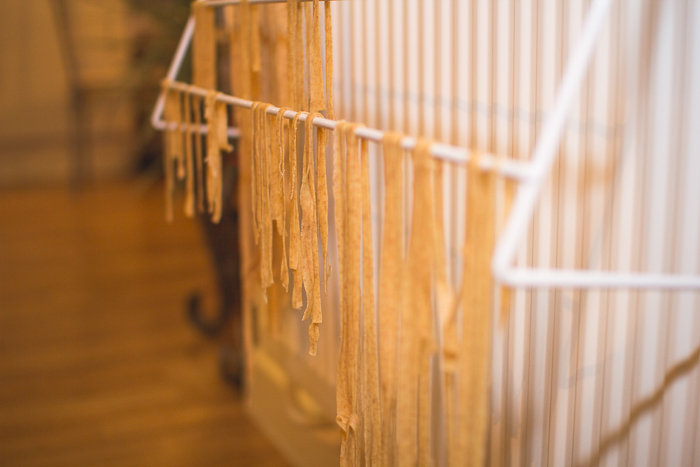
Another benefit to investing in a pasta machine is they often come with cutters! Perfect for spaghetti and linguine!

Once cut cooking the pasta is a breeze! Simply drop in boiling water for around 5 minutes and drain!

To make the full dish pictured please click here!
image

image

image

Mexican Lettuce Wraps

Mexican Lettuce Wraps-8772                Mexican Lettuce Wraps-8868

I thought I’d share with you one of our favourite recipes which is healthy, filling and ever so quick & easy to make. (Cheap too!) It only takes around 20 minutes from start to finish and is so easily adaptable!

What you will need (Serves 2 people for a main):

  • 200g of good quality lean mince (I used Beef but Turkey would be great too)
  • red onion diced
  • 2 garlic cloves (crushed and sliced)
  • One lettuce (little gems or Romanian makes great “cups”)
  • 2 Carrots grated
  • 1 Avocado cubed
  • 1 cup of light mozzarella cheese cubed or grated
  • Seasoning – I used 1tbs cumin, 1 tbs turmeric and 2 tbs Cajun.
  • 1 lime (optional)oil of choice -I used 3 pumps of olive oil in a spray can

Mexican Lettuce Wraps-8800

Mexican Lettuce Wraps-8811Mexican Lettuce Wraps-8840What you need to do:

Mexican Lettuce Wraps-8789

Heat the oil in a heavy bottomed pan on a low setting so not to burn it and add the garlic and the onions. Stir regularly to avoid sticking .

Once they start to turn clear add the mince to the pan.

Mexican Lettuce Wraps-8806Mexican Lettuce Wraps-8807

Keep stirring to keep the meat from sticking and to ensure the meat is evenly cooked and browned. (At this point you can drain any excess fat if not wanted.)

Mexican Lettuce Wraps-8825Mexican Lettuce Wraps-8823Mexican Lettuce Wraps-8834

Next is my favourite part and what I think really makes the dish… The spicing! Add your chosen spices and stir in, coating the meat in all that flavour. I like to get my meat a little crispy at this point and the longer in the pan, the longer the spices have to develop.

Mexican Lettuce Wraps-8851Mexican Lettuce Wraps-8847

Before you take your dish off the heat to serve, taste to check the seasoning, you can add a little salt, pepper or even lime if you feel like it needs it! I like to add lime for that touch of sourness to the dish.

To serve:
Use the lettuce as cups or wraps so hold your tasty filling and toppings. Dig in!
mexican wrap-8861

Mexican Lettuce Wraps-8869Mexican Lettuce Wraps-8856